

How to Schedule WordPress Content Updates to Publish Automatically
Before you know it, that post you spent so much time on is buried, the information is no longer relevant and you’ve completely abandoned your marketing efforts for it.
Your hard work doesn’t have to have such a short shelf life, though. By spending time updating your older content, you can get traction out of the work you’ve already done and ease the burden of having to come up with completely new articles every single day.
Schedule WordPress content updates to freshen up your content and keep readers interested. Adding new information can update your article instead of leaving it with outdated information, and brands that know about upcoming events or sales can pre-schedule the changes to go live on a specific date.
Native WordPress Doesn’t Have an Option for This
WordPress does let you schedule posts to go live at a certain date and time. It doesn’t give you the option to schedule WordPress updates to a published post, though.
Native WordPress requires you to make the changes in real time and then publish them. While you could make a copy of the post, make the required changes, and then copy and paste the changes into the original post, this is a clunky system, and you’ll still have to be in front of your computer to actually publish those changes.
The Tao Schedule Update plugin for WordPress is a simple, free solution for making updates to your content. It’s best used if you only have one round of updates to make to your content – you’ll see why toward the end of this article.

Installing the Tao Schedule Update Plugin
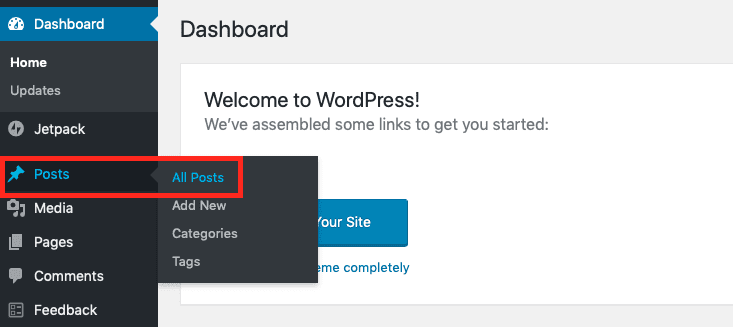
To install and activate the Tao Schedule Update plugin, go to Plugins on the left sidebar, then choose Add New from the top.
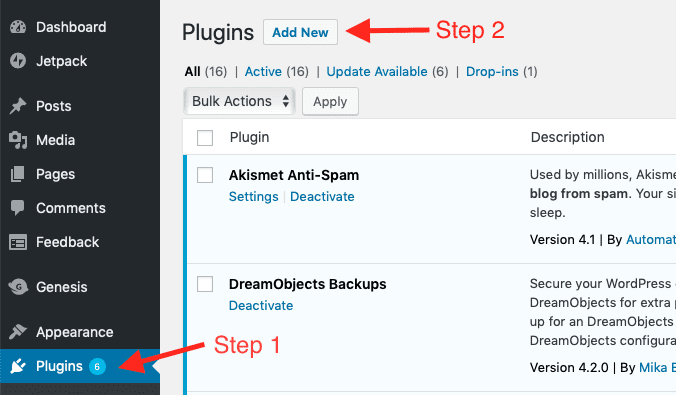
Search for “Tao Schedule Update” to the right of Keyword.
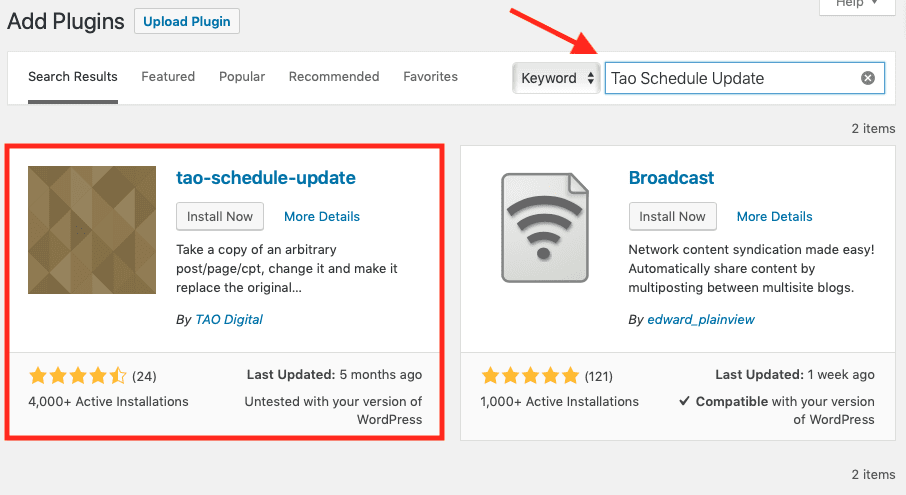
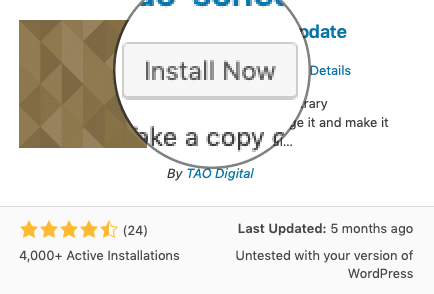
Click on Install Now.
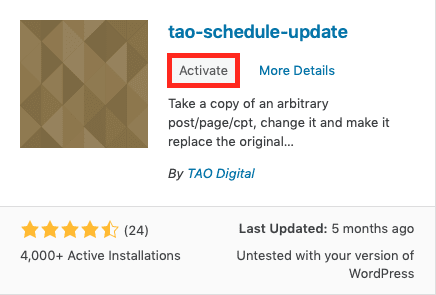
Once it’s installed, click Activate.
That’s it! You don’t have to do anything else – it’ll be ready to use when you go to your list of posts.
Schedule WordPress Content Updates Using Tao Schedule Update
Now it’s time to schedule WordPress updates to your already-published content. Hover over Posts in the left sidebar, then click All Posts.
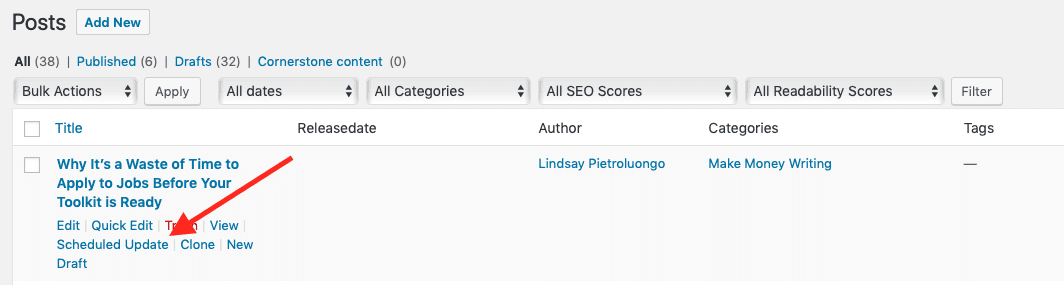
Hover over the title of the post you want to schedule an update for, then select Scheduled Update.
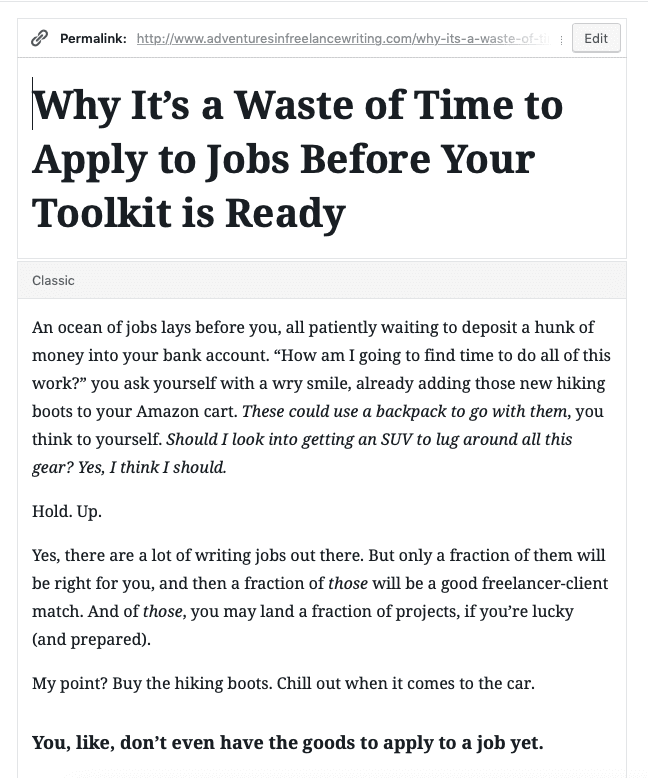
This makes a copy of the original blog post, which you can then edit and schedule for a later date and time. This is what the original blog post looked like before editing:
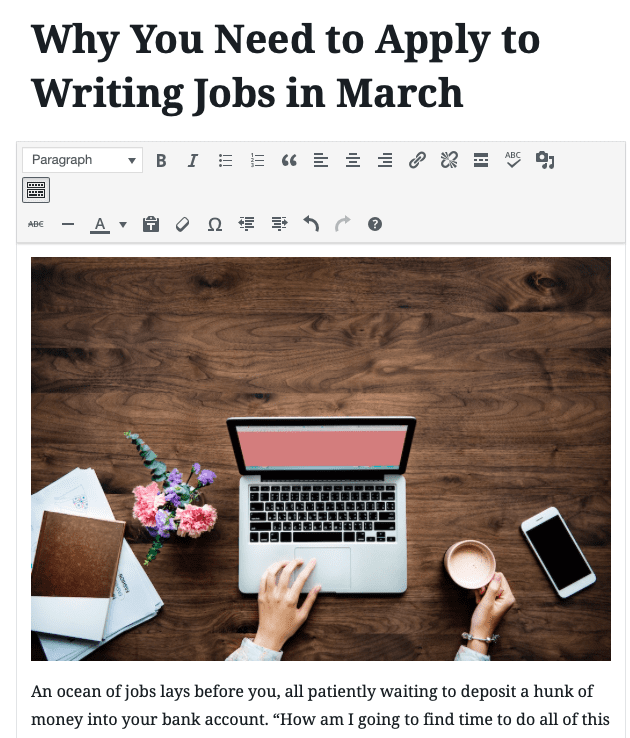
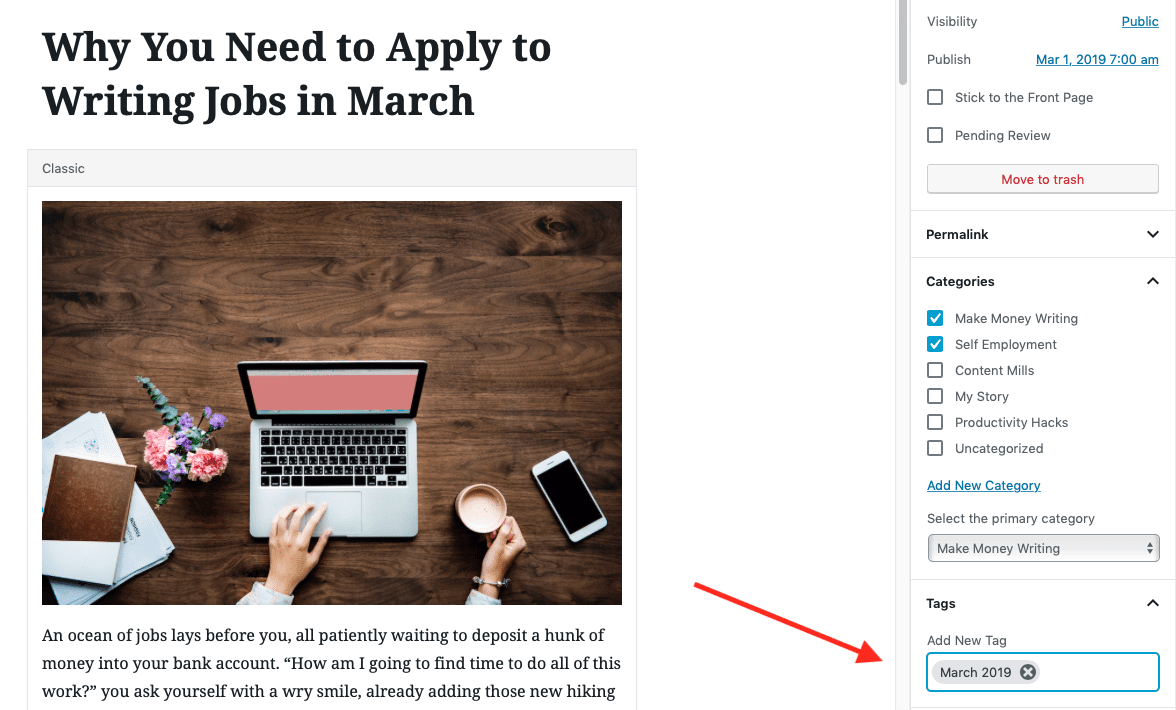
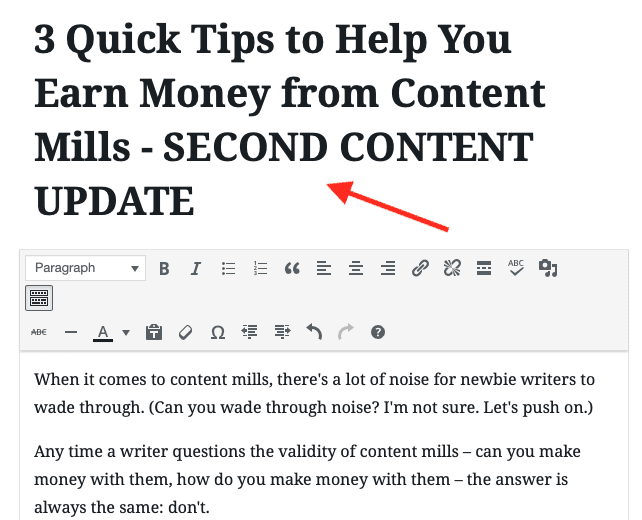
I changed the headline and added a photo:
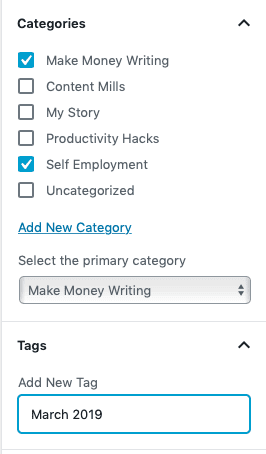
I also checked the Self Employment category and added a tag:
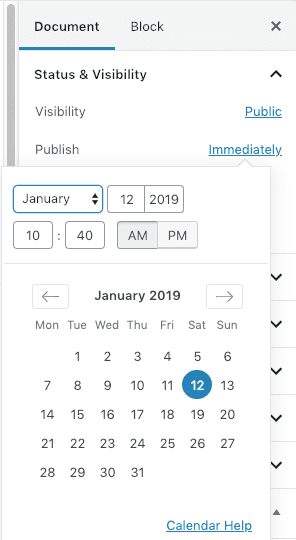
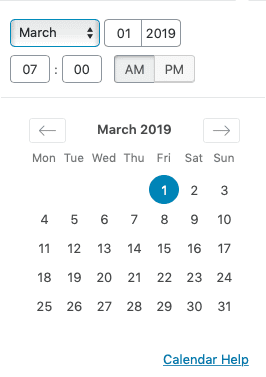
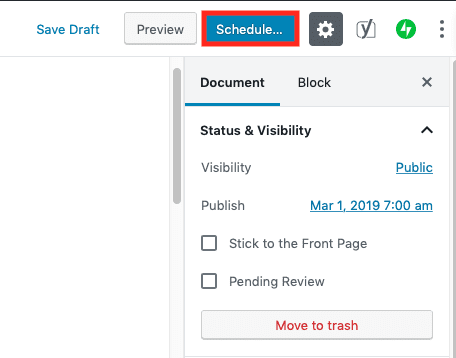
Click the date and time to the right of Publish, which is on the right side of the screen.
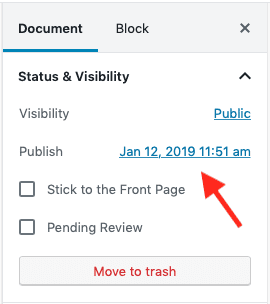
You’ll then be able to schedule the update for a new date and time.
Next, click Schedule at the top of the screen.
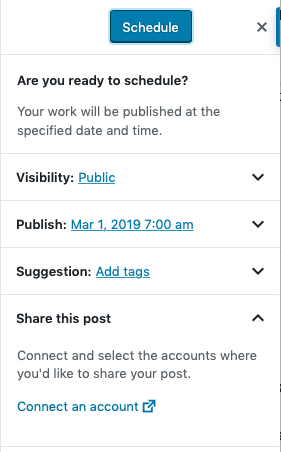
You’ll see this menu pop up, where you can make a few changes, if you want. When you’re ready, click Schedule again, at the top.
This process is super easy, but the one thing I didn’t like is what happens after you click Schedule. For a few seconds, the window seems to be working:
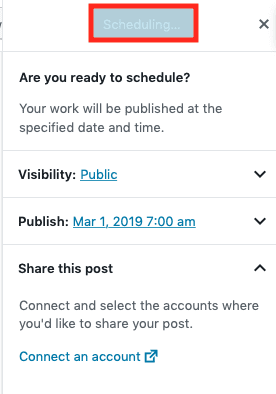
Once it’s finished scheduling, it looks exactly the same as before, with the Schedule button at the top again. I’d prefer it to say something like, “Your content has been scheduled,” so I know it’s finished.
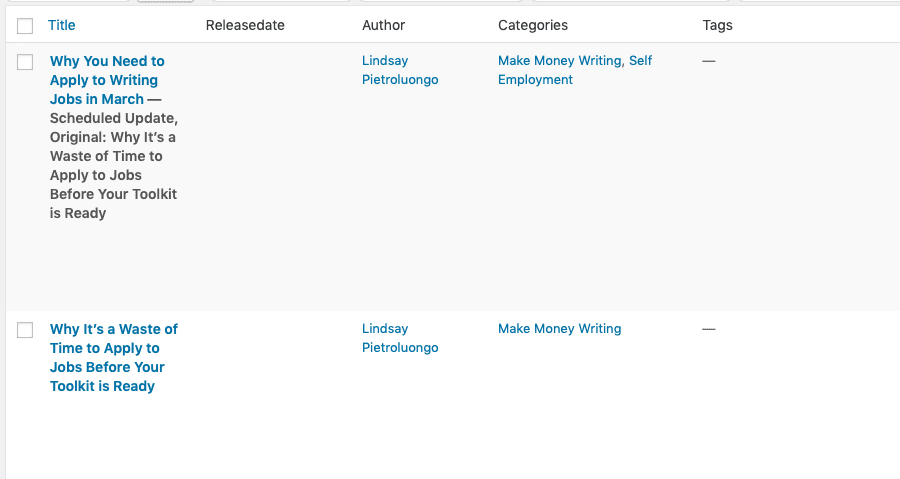
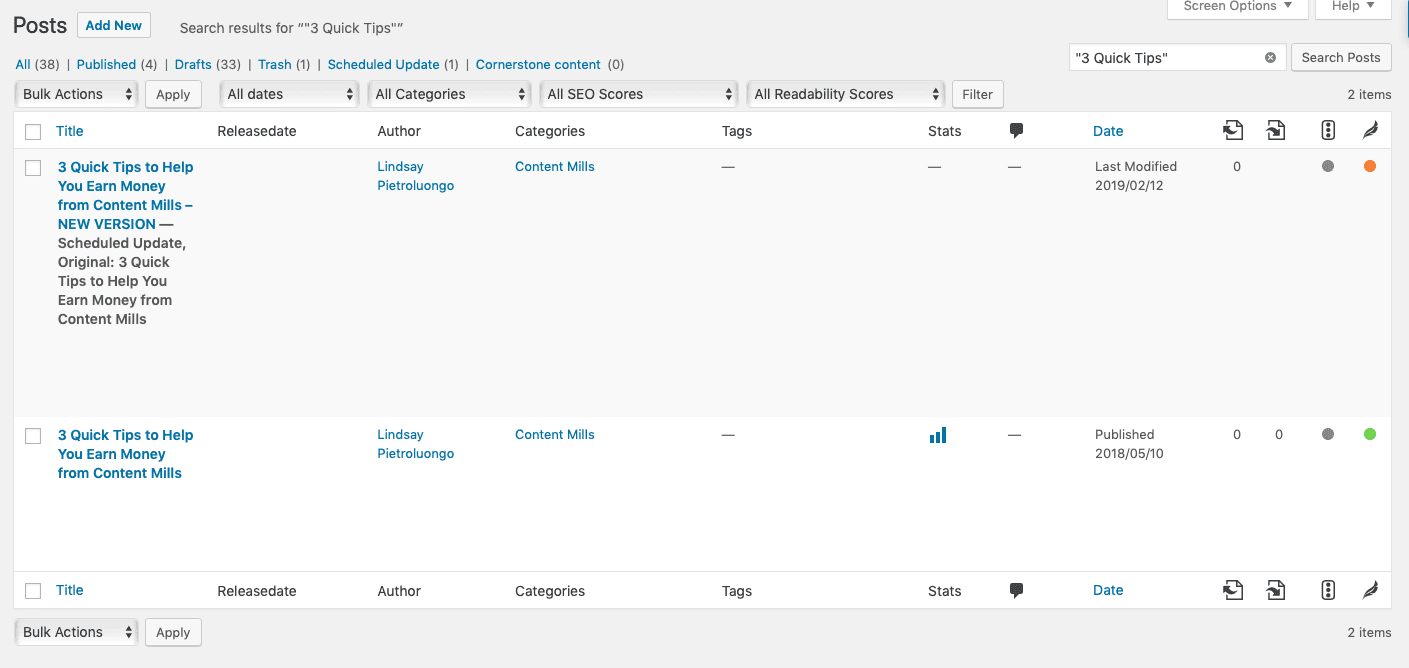
If you go back to Posts and then All Posts, though, you’ll see the new version of the blog post with “Scheduled Update” underneath.
Editing an Updated Blog Post
I noticed that the tag for the updated blog post didn’t save, so I went back in to add it again
I added the tag again, then clicked Schedule. It didn’t make another version of the blog post, which I was happy about – it just updated the one I’d been working on.
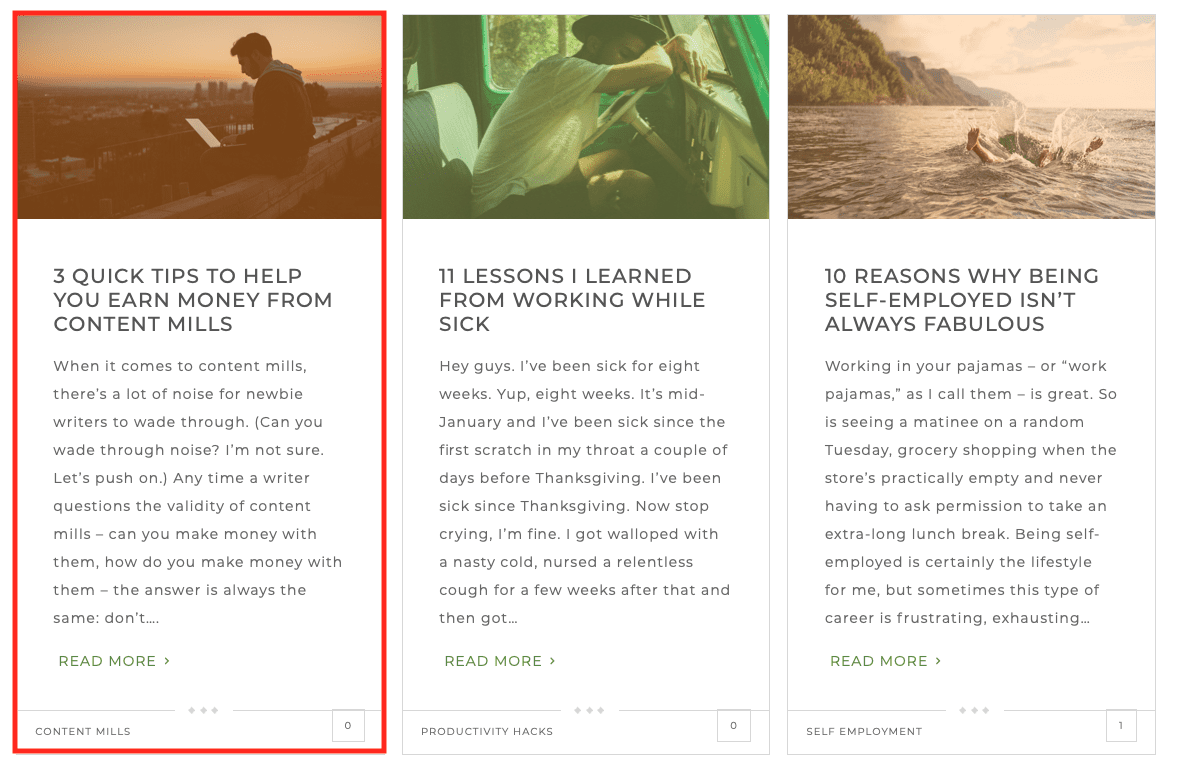
I wanted to play around with editing an already-updated post some more, and I decided to start fresh. I chose a blog post that was live on my website and made a couple of changes.
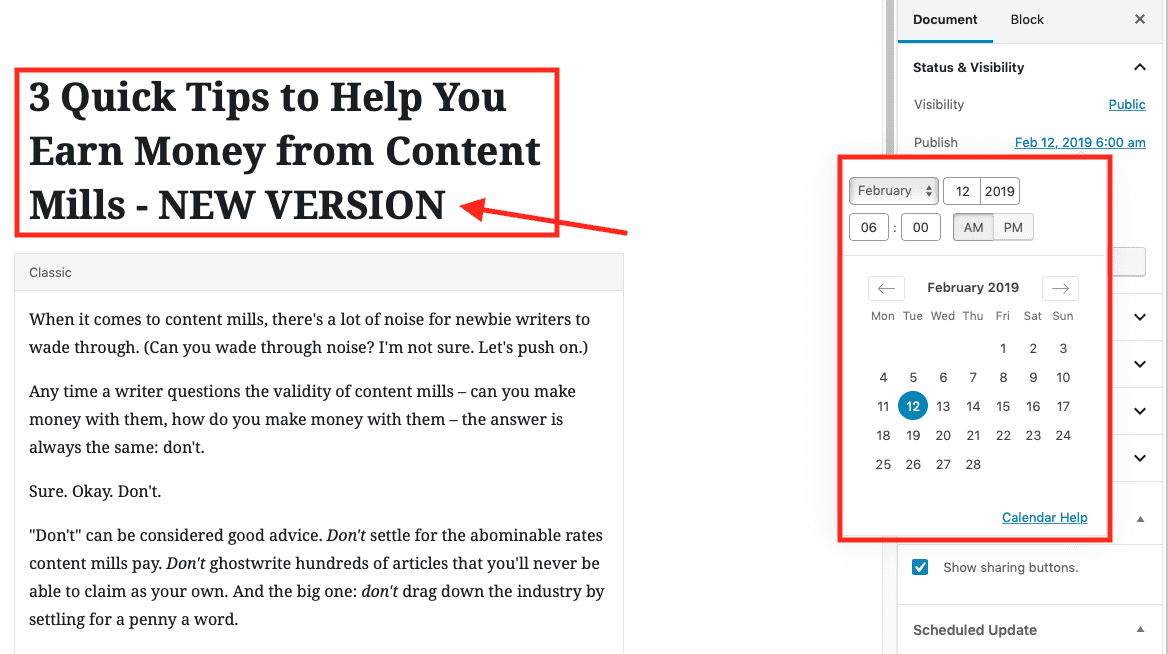
Then I went back to All Posts to edit the new version of the blog post.
There isn’t a clickable Scheduled Update link under this new version, so I clicked Edit and went in to make some changes. This time, it ended up doing three things I didn’t want it to:
1. It wouldn’t save the update I made to the headline.
I had an error message at the top saying the update failed.
2. When I went back to All Posts, this was the only version of the blog post remaining:
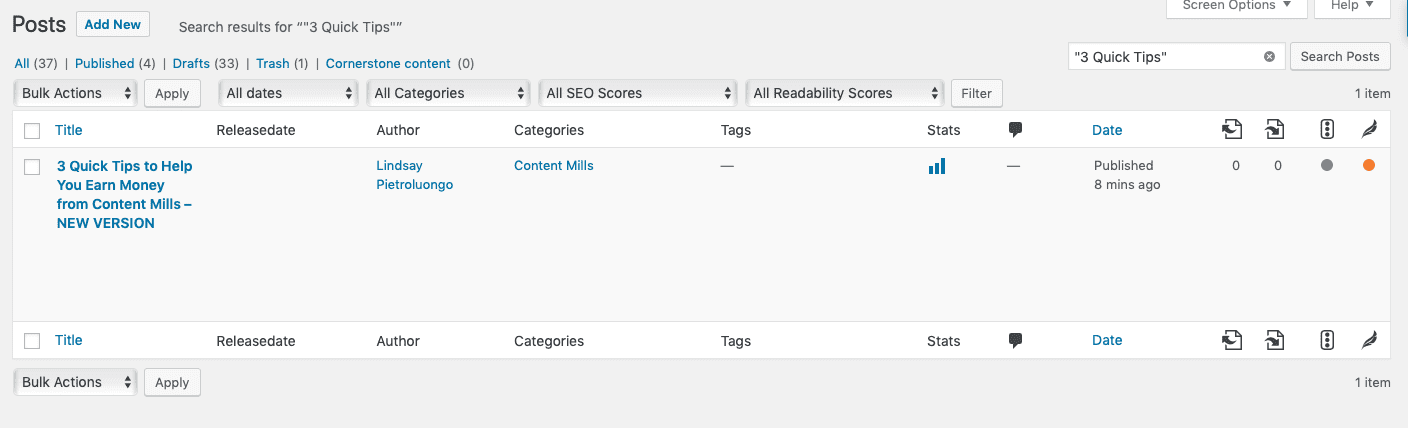
That means that I lost the original blog post. It wasn’t in Trash, either.
3. This new version of the blog post went live on my website, which is why the original was gone.
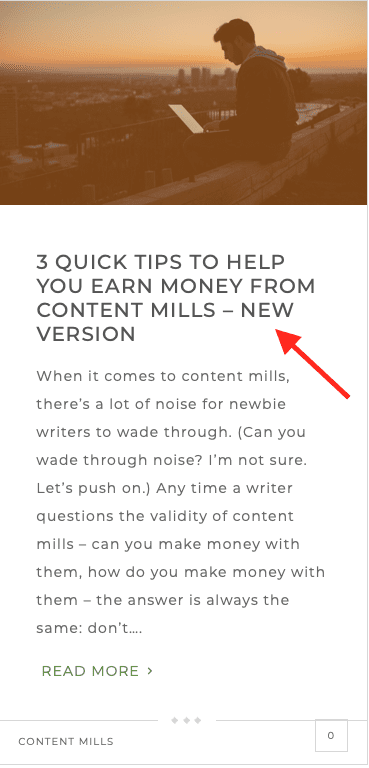
Deleting the original when the content update goes live is a great feature and keeps everything organized, but when it mistakenly publishes a post before I want it to, getting rid of the original is a big problem.
I had actually noticed the same thing happen earlier with the first blog post I updated, but I thought it was an oversight or mistake on my part. This time, I knew for sure it was a flaw in the plugin – I knew I hadn’t re-scheduled the post for the current date and time, and that’s the only way I to publish it in real time.
Final Thoughts
The more you can reuse your already-published content, the more value it will provide you and your audience. Since native WordPress doesn’t yet have this functionality, the Tao Schedule Update plugin is an easy-to-use option, though not a flawless one.
The issue I ran into, where it deleted my original blog post and posted the new one before the schedule I had chosen, could be damaging to your website. It only seemed to be an issue when I edited an already-updated post, though. A workaround is to make just one round of edits to a blog post, schedule it and then leave it alone. If you have to schedule another round of updates, the safest option is to wait until that first round is live.
Need help deciding which aspects of your blog post you should update to keep your content fresh and interesting? Check out this article on how to update your most successful blog posts.